What Is the Difference Between Image to Video and Reference to Video?
The same picture can give a video model two different instructions: start from this frame, or use this picture to guide a new scene. That is the central difference between image to video and reference to video.
Choose image to video when you want to animate an existing shot. Choose reference to video when you want to reuse a character, product, style, or composition while directing a new shot. The upload may be identical; its assigned role changes the task.
What Is Image to Video?
In the common first-frame workflow, image to video (I2V) uses your uploaded picture as the video's opening frame. Your prompt describes what happens next: a character waves, curtains move, or the camera approaches a product. Seedance's official video-generation tutorial documents first-frame and first-and-last-frame generation as distinct tasks.
This suits a finished illustration or carefully composed product image. The opening already establishes the subject, pose, background, and framing. Later frames can introduce movement, new viewpoints, and scene changes; the entire video is not frozen to that composition.
What Is Reference to Video?
Reference to video (R2V) uses supplied material to guide a new generation. A reference image can define what a character looks like, a product's design, a scene's composition, or a visual style. It does not automatically become the opening frame.
For example, Kling 4.0's official reference guidance describes images as guides for character appearance, product details, composition, lighting, and style. Supported video references can guide action, camera movement, and pacing. Here, the comparison focuses on using a still image.
Image to Video vs Reference to Video at a Glance
What You Control | Image to Video With a First Frame | Reference to Video With an Image |
|---|---|---|
Opening shot | Defined by the supplied image | Newly generated unless directed otherwise |
Initial pose and framing | Established by the opening image | Can be rearranged for the requested shot |
Background | Starts with the pictured setting | Can use the pictured setting or a new one |
Image's main job | Establish the starting visual state | Guide specified visual information |
Typical creative goal | Animate this shot | Create a shot using these references |
Model-specific rules also matter. In the Seedance 2.5 prompt guide, dedicated first-frame generation locks the output aspect ratio to the opening image. Ordinary reference generation leaves the output ratio selectable. A vertical source therefore has different implications in those two workflows.
The Same Image Used in Both Workflows
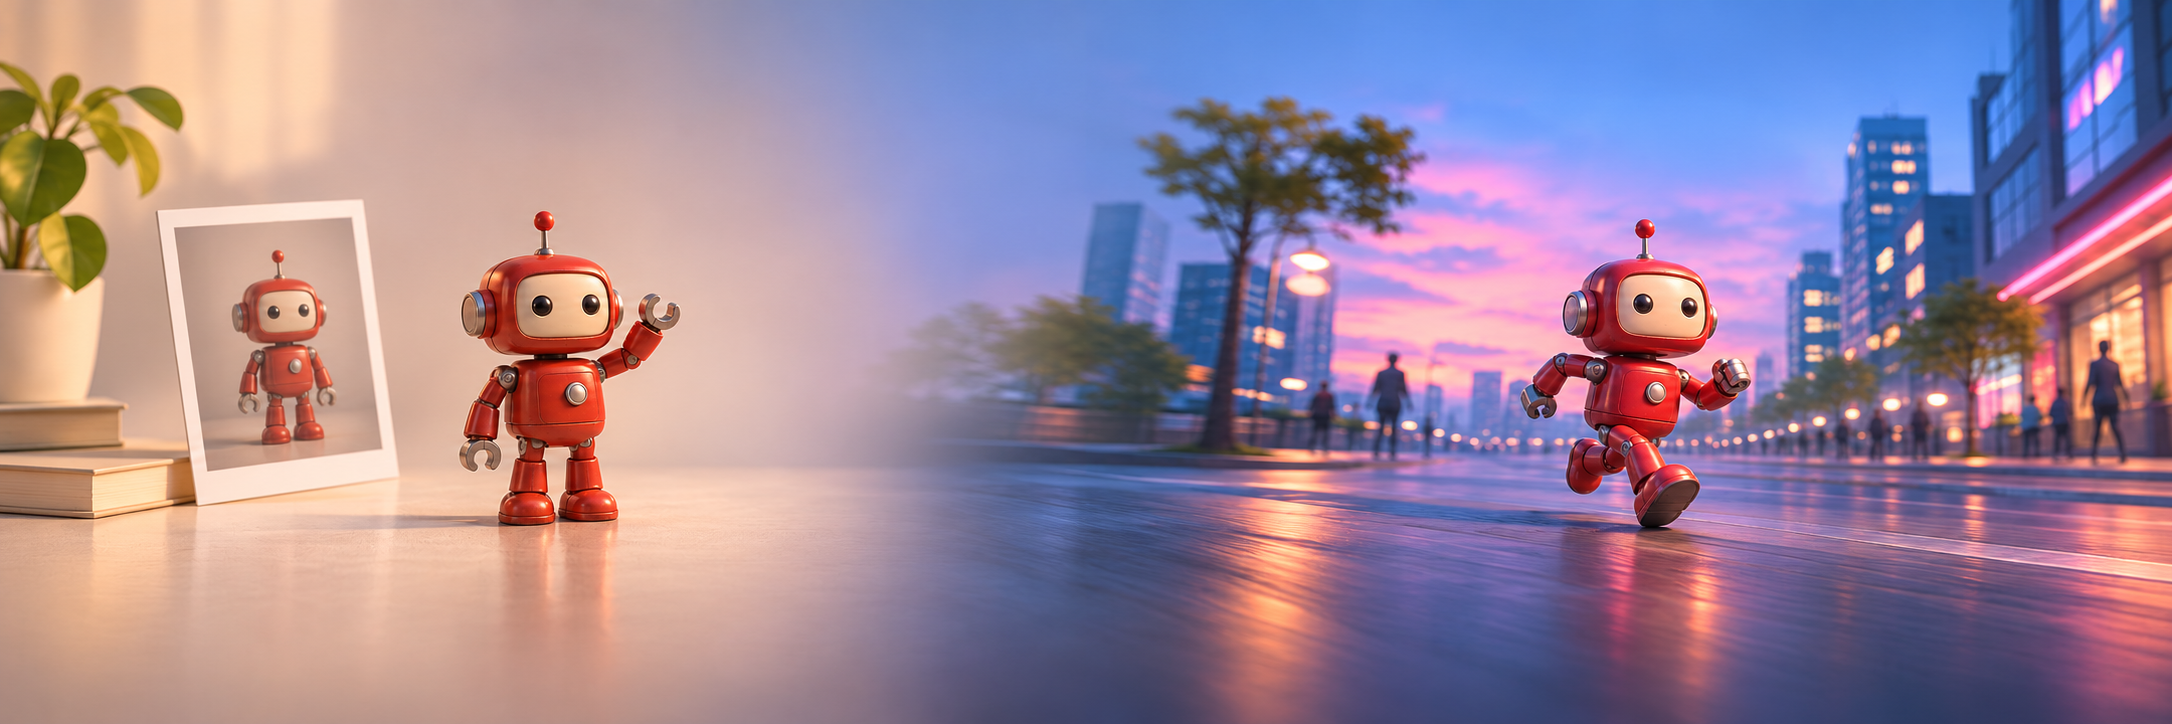
Both workflows use the same source image: a red toy robot standing on a white tabletop, photographed from the front. The image was created with GPT Image 2.5 Sunburst; the video samples below were generated with Seedance 2.0.

Example 1: Move the Subject Into a New Scene
The supplied Seedance 2.0 samples use this scene prompt:
The red robot runs through a rain-soaked neon street at night. A low camera tracks alongside it.
With I2V, the opening remains anchored to the tabletop image. Reaching the street requires a transition or cut, creating an additional instruction to resolve.
With R2V, the clip can open directly on the street with the robot already running. The source guides the robot's appearance while the scene, pose, and camera angle are newly composed.
Seedance 2.0 Results From the Same Source Image
I2V Result: Tabletop Opening, Then a Neon Street
For a clearer R2V request, add:
Use Image 1 as the reference for the robot's red body, square head, silver facial details, chest panel, proportions, and antenna. Begin directly on the neon street with the robot running.
This specifies which information to carry into the new shot.
How to Choose the Right Workflow
Start with the part of the picture you need to preserve:
The complete opening composition: choose I2V for an illustrated scene, product still, or storyboard frame that already looks right.
The subject in a different situation: choose R2V for a mascot entering a new location or a product appearing in several settings.
The visual style: use an appropriate reference workflow and identify the palette, lighting, or material treatment you want.
Specific moments throughout a sequence: check keyframe controls. Kling 4.0's keyframe documentation distinguishes timeline milestones from the separate jobs performed by reference assets.
For I2V, concentrate the prompt on action and camera movement. For R2V, identify what each reference supplies, then describe the new scene. When comparing outputs, hold the model version, duration, and other shared settings constant where possible.
Frequently Asked Questions
Can I Use the Same Image for Both Workflows?
Yes, if the selected model supports both input roles. Assigning a picture as a first frame gives it a different job from assigning it as a reference.
Does Reference to Video Require Multiple Images?
No. A supported workflow can use one image. Additional references are useful when you need to provide information that the first picture does not show.
Can a Reference Image Also Become the First Frame?
Some models allow this through prompting. The Seedance 2.0 tutorial supports that approach but recommends dedicated first/last-frame roles when strict alignment matters.
Which Is Better for Character or Product Consistency?
Use I2V to anchor an opening shot and R2V to guide a subject across newly composed scenes. Neither choice alone guarantees consistent details throughout the clip; review the full sequence.
Does Reference to Video Mean Better Quality or Bigger Motion?
The mode defines how inputs guide generation. It does not establish a quality ranking or motion limit. Compare results for your specific model and request.
Why Did the Reference Mode Change My Background?
A reference does not automatically require preservation of the whole picture. Specify that the background and composition should be retained, or use the image as a first frame when the opening must match.
Try the Workflow That Fits Your Shot
Start with one image and one action in SeeAPI's Seedance image-to-video tool. Check the selected model's input options, then decide whether your picture should define the opening frame or guide a new scene.